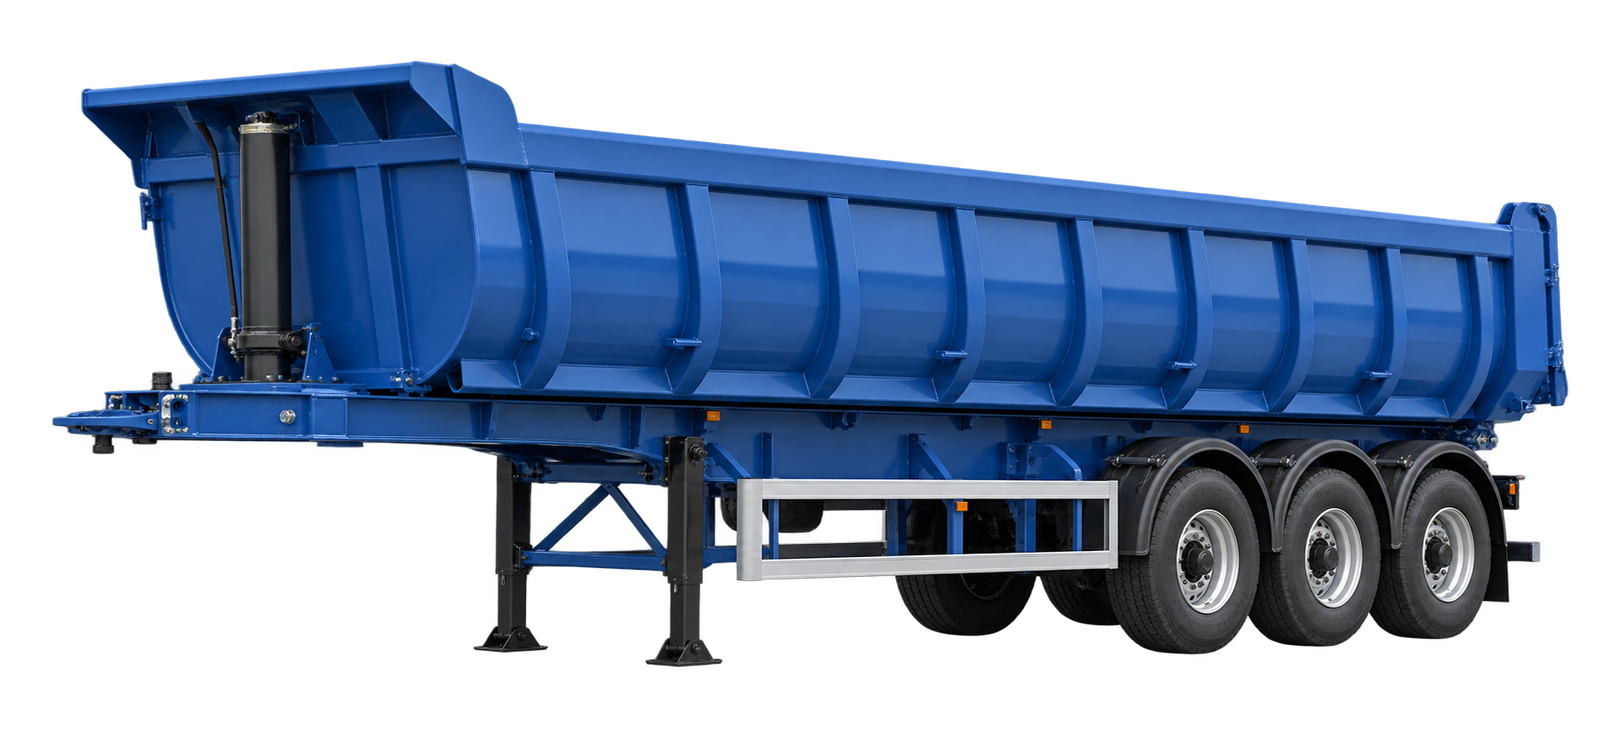
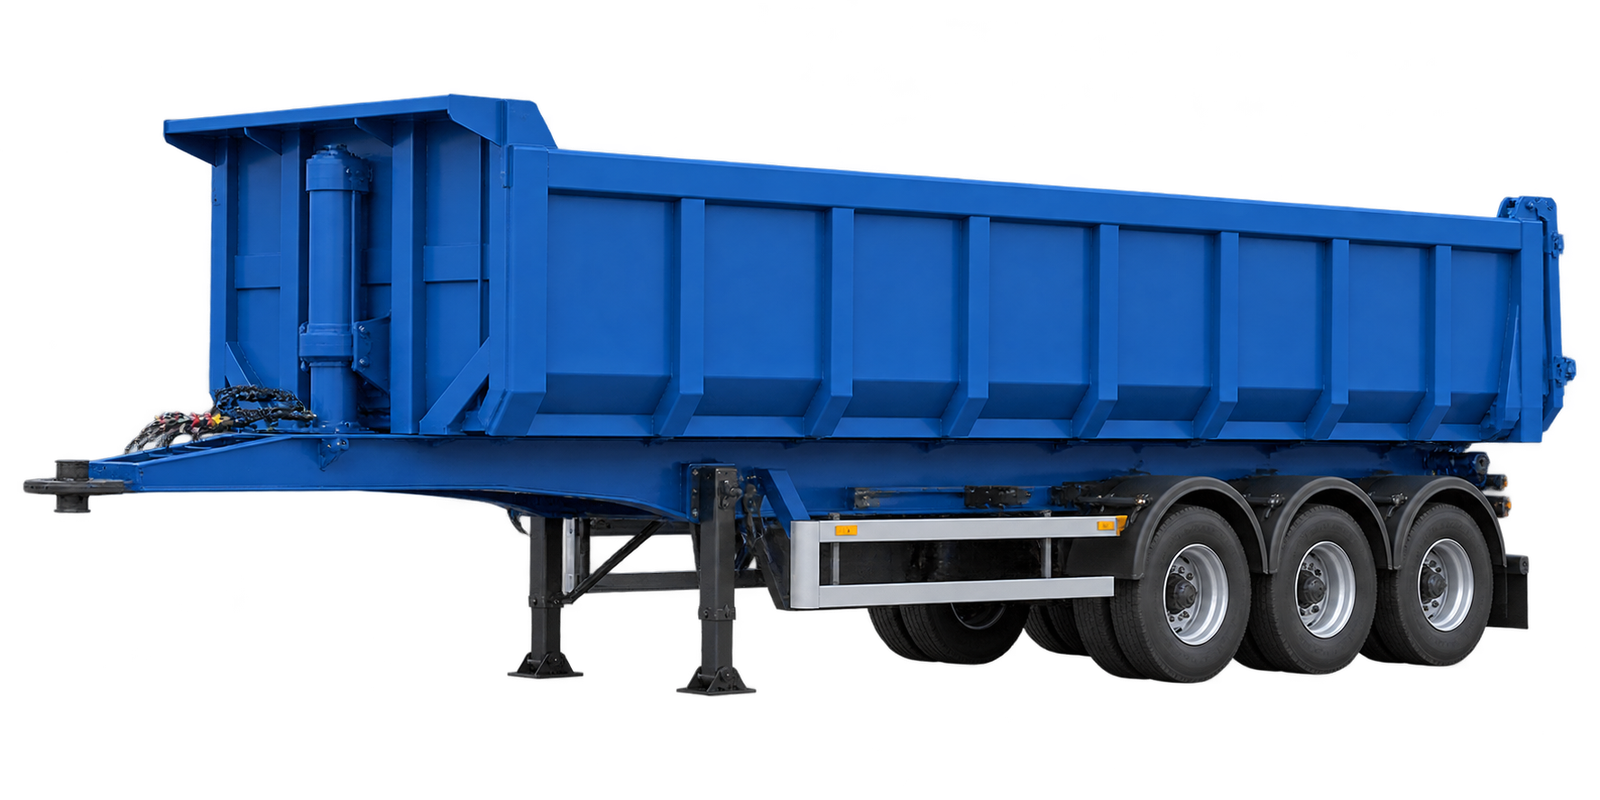
Concrete mixer semi-trailers require a different maintenance routine from standard cargo trailers. Instead of carrying static cargo, they transport fresh concrete while the mixing drum continues rotating throughout the journey.
For operators, the maintenance priorities are straightforward: keep the drum in good condition, maintain the hydraulic drive system, and clean the mixer thoroughly after every job.
A typical 3-Axle Concrete Mixer Trailer provides the carrying capacity required for many concrete transport applications while distributing the load across three axles. However, reliable operation depends heavily on daily inspection and proper maintenance.
1. Pre-Trip Inspection
Before loading concrete, inspect the main components of the mixer trailer.
Check the Mixing Drum
Walk around the drum and inspect it for:
- Cracks or visible deformation
- Damaged welds
- Excessive wear around the drum opening
- Worn or damaged mixing blades
The blades inside the drum are particularly important because they control both mixing and discharge performance. Excessive blade wear can reduce mixing efficiency and make unloading slower.
Inspect the Hydraulic System
The hydraulic system drives the mixing drum, so leaks or contaminated hydraulic oil can quickly cause operating problems.
Check:
- Hydraulic oil level
- Oil condition
- Hoses and fittings
- Pump and motor connections
- Signs of leakage or overheating
Cloudy or milky hydraulic oil may indicate water contamination, while unusually dark oil can be a sign of overheating or deterioration.
Hydraulic oil and filters should be replaced according to the recommendations of the hydraulic system manufacturer.
Check the Drive System
Depending on the mixer trailer configuration, the drum may be powered through a hydraulic power unit, auxiliary engine, or another drive arrangement.
Before departure, make sure the drum rotates smoothly in both mixing and discharge directions.
Check Tires and Brakes
Concrete is a heavy cargo, so tires, axles, suspension, and brakes operate under substantial load.
Check:
- Tire pressure
- Tire damage and abnormal wear
- Air brake system
- Brake chambers and air lines
- Suspension components
Any problem should be corrected before the trailer is loaded.
2. Loading and Transport
Proper operating habits during loading and transport can significantly reduce wear on the mixer system.
Wet the Drum Before Loading
Before concrete is loaded, a small amount of water can be used to wet the internal surface of the drum.
This helps reduce concrete adhesion to the drum wall and makes cleaning easier after unloading.
Avoid Overloading
Do not exceed the trailer’s rated capacity.
Excessive concrete weight places additional stress on:
- Axles
- Suspension
- Tires
- Hydraulic system
- Drum drive components
Overloading can also increase hydraulic oil temperature and accelerate component wear.
Keep the Drum Rotating
During transport, the drum should continue rotating at the speed required for the concrete mix and operating conditions.
The exact rotation speed should follow the concrete supplier’s requirements and the mixer manufacturer’s operating instructions.
Operators should pay attention to unusual vibration, noise, hydraulic pressure changes, or irregular drum movement during transport.
3. Unloading the Concrete
Before discharge, confirm that the drum and hydraulic system are operating normally.
Reverse the drum into the discharge direction and observe whether the concrete flows smoothly.
Also inspect the discharge chute regularly. It should move freely and should not show significant cracking, bending, or hardened concrete buildup.
Smooth discharge is not only related to drum rotation—it also depends on the condition of the internal blades and chute system.
4. Clean the Drum Immediately After Unloading
Cleaning is one of the most important parts of concrete mixer trailer maintenance.
Concrete residue becomes much harder to remove once it begins to cure. Over time, hardened concrete inside the drum adds unnecessary weight and reduces the effective capacity of the mixer.
After unloading, thoroughly wash:
- Drum interior
- Mixing blades
- Drum opening
- Discharge chute
- Chute joints
- Areas where concrete residue tends to collect
Do not leave significant concrete residue inside the drum overnight.
Regular cleaning reduces buildup and helps extend the service life of the drum and blades.
5. End-of-Day Inspection
After the final trip of the day, inspect the mixer again before parking.
Pay particular attention to:
Drum and Mixing Blades
Check for remaining concrete, unusual wear, cracks, and blade damage.
Hydraulic Hoses and Fittings
Look for small leaks around hose connections, pumps, motors, and fittings.
Minor hydraulic leaks should be repaired early before they develop into larger problems.
Drum Support and Reducer
Listen for abnormal noise and check for oil leakage around the reducer and drum support components.
Discharge Chute
Make sure the chute is clean and moves freely before the trailer is parked.
6. Scheduled Maintenance
In addition to daily inspections, several components require periodic servicing.
Hydraulic Oil and Filters
Hydraulic oil degrades over time because of heat, contamination, and moisture.
Follow the hydraulic system manufacturer’s recommended service interval and use the specified hydraulic oil grade.
Avoid mixing incompatible hydraulic oils.
Reducer Gear Oil
Check reducer oil level and condition regularly.
Gear oil replacement intervals and oil specifications should follow the reducer manufacturer’s recommendations.
Mixing Blades
Mixing blades gradually wear as they come into constant contact with concrete.
Inspect them regularly for:
- Excessive thinning
- Cracks
- Deformation
- Broken sections
Severely worn blades can reduce mixing performance and affect discharge efficiency.
Lubrication Points
Grease bearings, pivots, chute joints, and other lubrication points according to the maintenance schedule.
Regular lubrication reduces friction and helps prevent premature wear.
Common Concrete Mixer Trailer Maintenance Mistakes
Several maintenance mistakes can significantly shorten the service life of a mixer trailer.
Leaving concrete inside the drum after unloading
Concrete buildup increases trailer weight, reduces drum capacity, and becomes progressively harder to remove.
Ignoring hydraulic oil condition
Contaminated or deteriorated hydraulic oil can damage pumps, motors, valves, and seals.
Operating with hydraulic leaks
Even a small leak can eventually reduce system pressure or cause insufficient oil levels.
Continuing to operate with worn mixing blades
Worn blades reduce mixing and discharge efficiency.
Ignoring abnormal drum noise or vibration
Changes in drum movement can indicate problems with the reducer, bearings, hydraulic system, or drum support components.
Keep the Drum Clean and the Hydraulic System Healthy
Good concrete mixer trailer maintenance does not need to be complicated.
The three most important points are:
Keep the drum clean, keep the hydraulic system in good condition, and make sure the drum operates smoothly.
A well-maintained 3-Axle Concrete Mixer Trailer can provide reliable service for concrete transport while reducing unnecessary downtime and repair costs.
Daily inspections before loading, monitoring during transport, and immediate cleaning after unloading are the foundation of reliable mixer trailer operation.
If you have questions about concrete mixer trailer specifications, maintenance, or configuration, feel free to leave a message.